Blog Layout

Checking Roof Details to Ensure the Covering is Water Tight

May 07, 2022

Checking Roof Details to Ensure the Covering is Water Tight

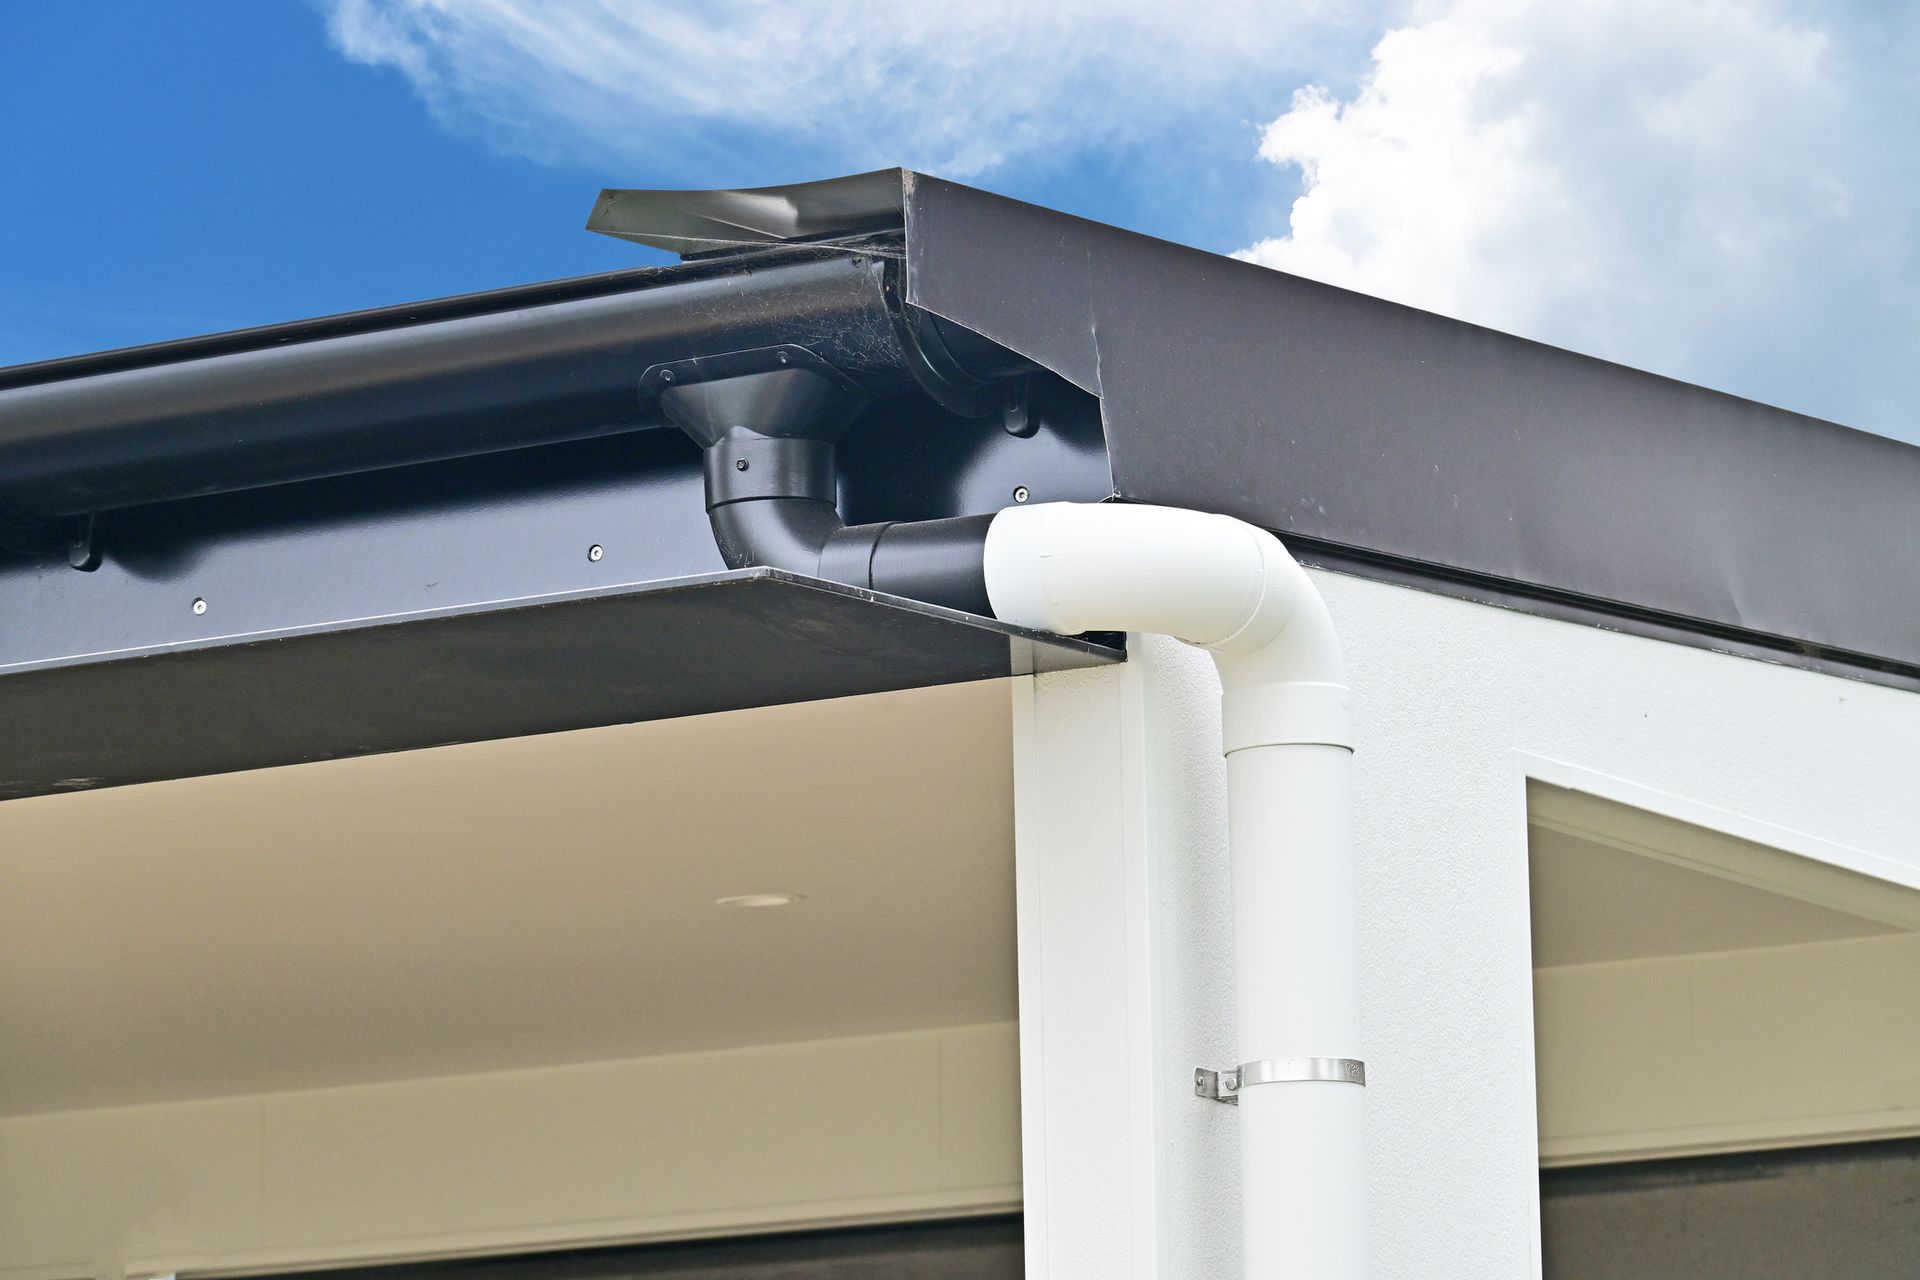
Presenting a video looking at the flashing details on a roof with asphalt shingles installed. Specifically addressing the vents and vent flanges and how they are secured to the roof. Roof flashings are typically metal or plastic shapes designed to redirect or shed water off of one surface onto another. Different types of roof flashings may include, step flashings, counter flashings, vent flashings, ridge flashings, plumbing flashings, drip edge moldings, and kick out flashings.

What are Flashings and Why Do We Need Them?

Flashings are very important in the Houston market due to the amount of rainfall the area receives and amount of rainfall the area can receive at one time. Hurricane Harvey dropped over 50 inches of rain north of Houston before the rain gauge broke. Clearly that area received more than 50 inches in a 24 our period!!

Flashing details are very important for ensuring a roof sheds or drains properly. The most common method to attach these flashing details to the roof is to use nails to secure the flange to the roof decking. These nails have to be minimum 1-1/2" long. The preferred nail is a ring shank nail that has ridges around the nail shaft that grips the wood and resists being removed.

The nails used on this roof and featured in the video were nailed through the flange instead of using the holes created by the manufacturer. Nailing through a plastic flange like the one shown can crack or break the flange and make it susceptible for breaking. If the flange breaks, it is free to move and can lifted by the wind and allow water penetration.

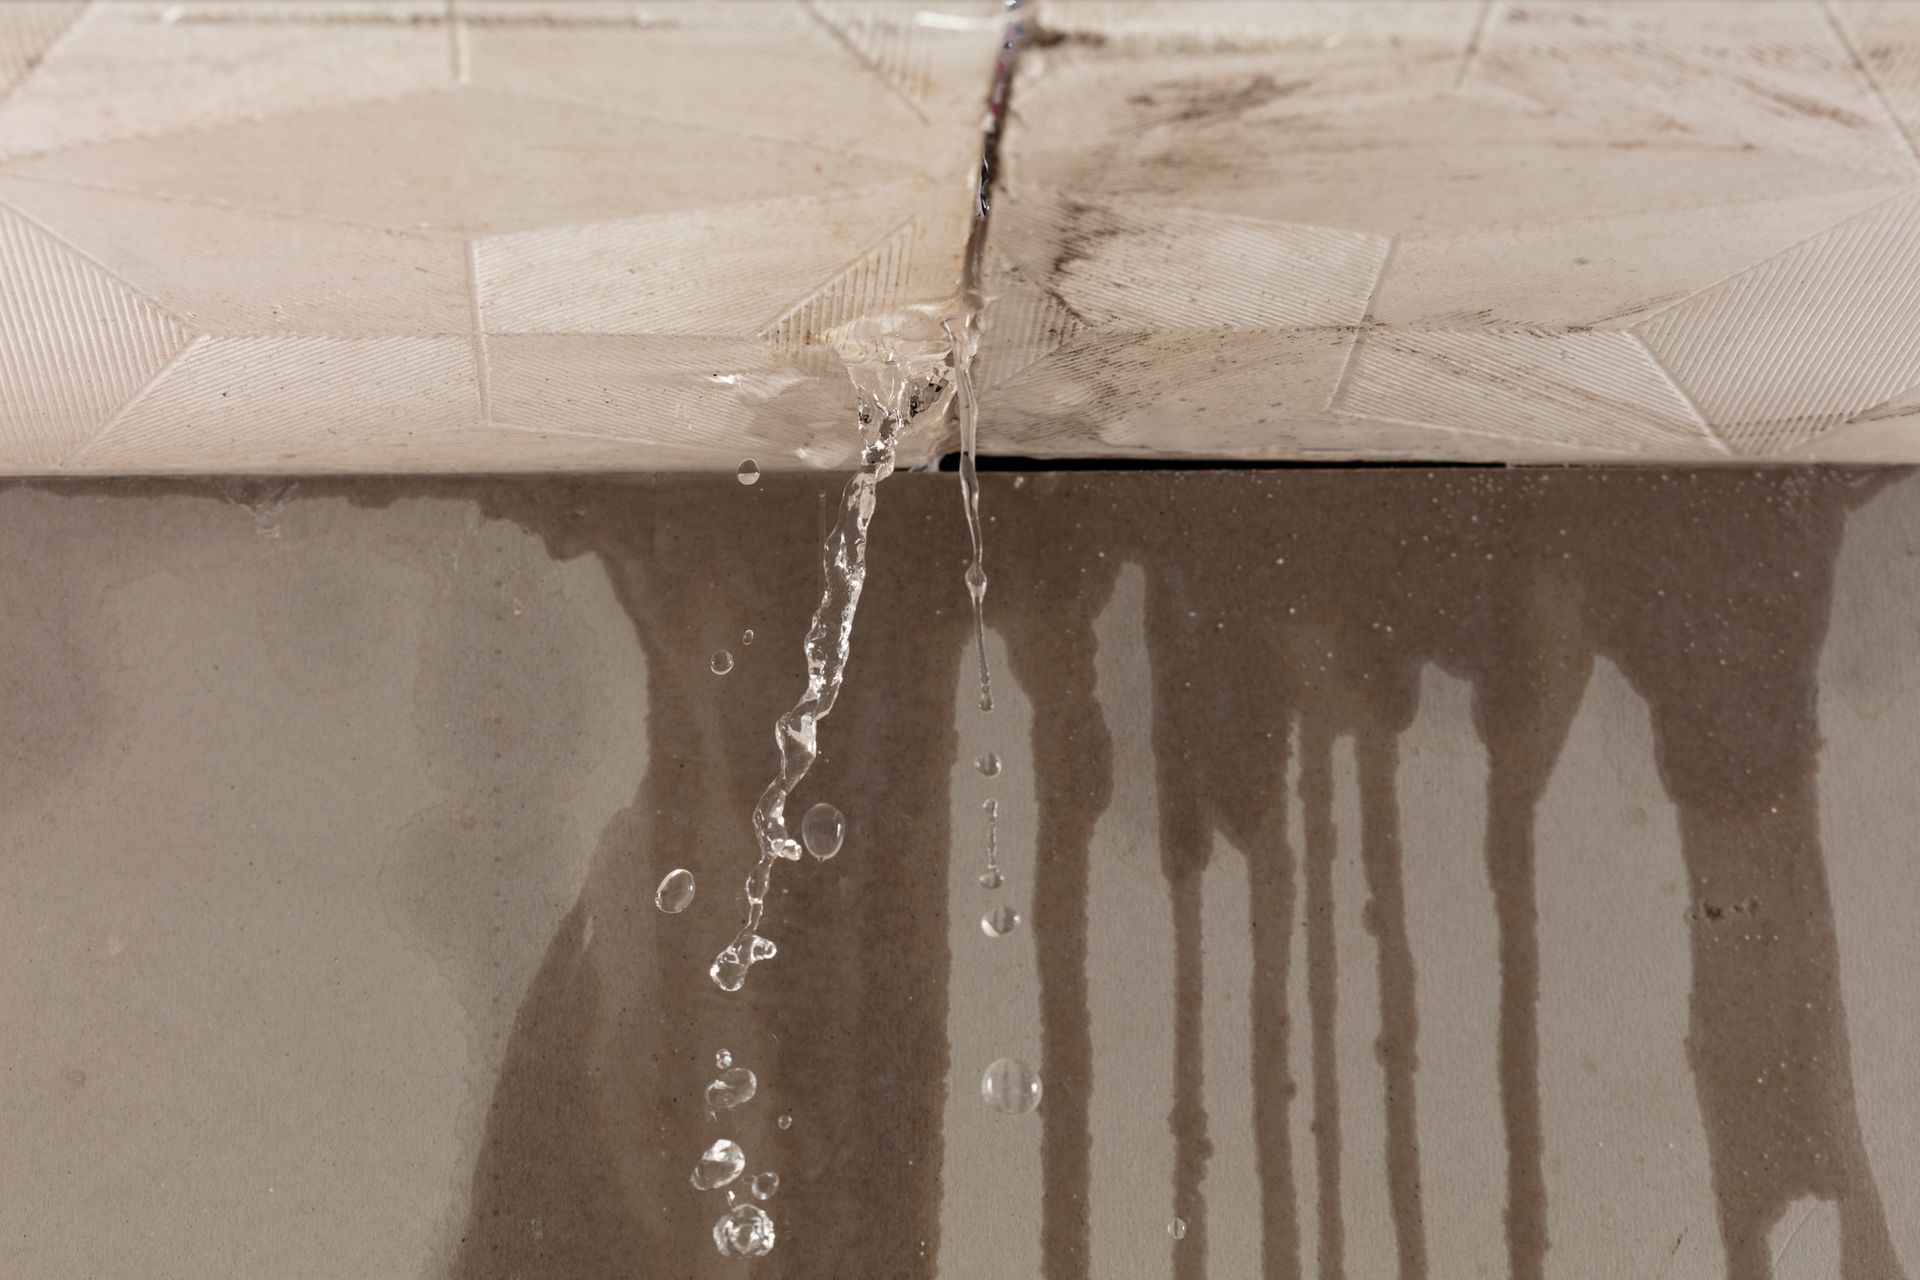
The most common defect I find on roof flashings are exposed nail heads on flashings and shingles. These nail heads need to be covered with a roofing cement or roofing sealer to prevent water or moisture from causing the nail to rust. When this occurs, the nail shaft rusts, expands, and creates a larger hole. Water can then migrate under the head and down the nail shank to the decking causing damage to the decking and attic structure. In severe cases, moisture will drip onto the insulation and ceiling drywall creating stains or damage.

What Happens if Flashing Details are Not Repaired?

Improperly installed, poorly maintained, or damaged roof coverings and flashing details is a leading cause of roof leaks. Many times a roof leak will go undetected for extended periods of time because they start small and slowly damage roof decking and/or rafters. Once these areas a significantly damaged, water penetration into the home is what is noticed and gets a homeowners attention. At that point significant damage has been done and repairs can be expensive. If the interior finishes have been damaged, that cost will have to be added to the repairs to the roof as well. 

Repairs of these areas are usually easy to complete if detected early enough. Many homeowners do not monitor or inspect the roof due to height, access, and just really not looking at it. The factors can allow defects or leaks to persist over time and cause damage previously described. A regular inspection of the roof by a home inspector from Boxer Inspections can help identify roof issues before they become expensive problems. In addition, a roofer or roofing contractor will need to be hired to make any needed repairs. If issues are detected early, the repairs may only be re-nailing flashing or shingles or having to seal all the exposed nail heads. This is typically repairs included in a roofers repair process. More extensive damage will required additional materials and time to correct.

Damage to flashings and roof covering should always be addressed as quickly as possible to limit overall damage. No one likes to have wet ceiling drywall and insulation fall into a room due to a large roof leak. This makes a huge mess to clean up and repair.

#boxerinspections #residentialhomeinspection #roof #roofrepair

Home Inspection — Houston, Tx — Boxer Inspections
20 Nov, 2023
A home inspection before winter is crucial for multiple reasons. Preparing your home for the cold and potentially harsh conditions of winter can help you avoid costly repairs and ensure the safety and comfort of your family. Here are some key reasons why a home inspection before winter is important and should be part of a yearly consideration: Identify and Address Potential Issues: All homes need maintenance over time, just like cars and just like humans! A thorough home inspection can uncover any existing or potential issues that could worsen during the winter months. This may include issues with the roof, insulation, heating systems, plumbing, and electrical systems. Identifying problems early allows you to address them before they become major headaches.
06 Sep, 2022
Recently, during a new construction inspection, Boxer Inspections encountered and reported as deficient a contaminated dishwasher. In this case, the dishwasher had dark spots on both the upper and lower dish racks. It was concluded the most likely cause was fungal growth. No samples were sent to a lab for analysis to verify. Therefore, there was not any confirmation as to what it was. I believe that even if samples were taken and sent to a lab, the result would have been the same – Replace the Dishwasher!  The Professional Home Inspector at Boxer Inspections is going to look for items like this. How many times have you toured a home and looked inside the dishwasher? Well, you might now, after seeing this, right?!
AC Condenser — Houston, Tx — Boxer Inspections
By Admin 13 Jun, 2022
Decades ago, the electrical system in homes used fuses to protect the electrical circuits and equipment from and electrical short or overload. An electrical short or overload occurs when there is a direct pathway to ground in an electrical circuit. When this occurs, large amounts of electrical current will flow in the circuit including the wiring, connections, and the electrical fixture. High current flow causes heat to increase in the circuit. Wires, switches, outlets, connections, etc will heat up. When these components pass high current, they will also begin to heat up. As they heat up, resistance in the wire or component increases. The resistance limits the amount of current that can flow. The result of all this behavior is that current will reduce as the resistance increases, but the heat generated will increase. When components get hot enough, they can ignite combustible material nearby. Due to this, an electrical short can cause a fire or can electrocute someone. To protect electrical circuits a device needs to be installed between the electrical source and what is known as the load. The load is the electrical device, switch, outlet, wiring, etc. The device limits the amount of current that can flow. These devices will fail or open the circuit to stop the current flow. In modern homes, circuit breakers are used to protect equipment and components. When the current passing through a circuit breaker exceeds a specified value, the circuit breaker will trip. This action opens the circuit, stops the flow of current, and helps to protect occupants and the home. In older homes, the electrical protection devices used were fuses or fusible links. These types of protection devices will melt an internal wire which creates an open circuit. The open circuit stops the flow of current thus protecting the circuit. The home shown in the video has the outside AC condenser with the fuses replaced with copper tubing. This removed the protection from the circuit. In this particular case, the main electrical panel had been updated with a newer panel at some point in the past. The protection for electrical circuits changes from fuses to breakers in the panel. The correct update would have been to removed the old fuse protection AC disconnect and install a modern disconnect that has a removable plate. This removable plate will disconnect electrical power from the outside AC unit to allow service personnel to work on the unit. During inspections, unusual installations like this are often found . When dealing with electrical items and electrical equipment, doing it safely should always be the #1 consideration. However, the requirement or need to reduce the costs for the work, often forces corners to be cut In this video, I looked in the AC condenser disconnect and the fuses had been replaced by copper pipe. This is very dangerous if there is not current protection in the main electrical panel. If the fuse is smaller than required by the condenser manufacturer, you can get nuisance trips where the start up current burns the fuse. Techs would put these pipes in to prevent the fuse from burning through. Very dangerous. On the bright side here, a correctly sized breaker was installed in the main panel protecting the condenser. #boxerinspections #residentialhomeinspection #electricalsafety
Water Heater Diagram — Houston, Tx — Boxer Inspections
By Admin 16 May, 2022
In video provided at the bottom of this article, I was inspecting a 90+ years old. The home was equipped with gas appliances including a gas water heater. Any time there are gas appliances in the home, it is vital a carbon monoxide detector (CO) be installed in the home and that the appliances be regularly inspected for proper operation. The location for the CO detector should be near the gas appliances. Ideally, that would be near the kitchen with a gas stove and attic for a gas water heater or gas furnace.
18 Mar, 2022
Coming April 2022
Share by: